Upgrading your bathroom with a bidet or a smart toilet seat is one of the most popular home improvements today. However, the most common hurdle during installation isn’t the seat itself—it’s the plumbing connection.
To power a bidet, you need a way to split your existing water supply. That is where the bidet t valve comes in. In this guide, we will explain how this simple toilet t adapter works and how to choose the correct size for a leak-free upgrade.
1. Why Do You Need a T-Valve for a Bidet?
Standard toilet plumbing consists of a single water line running from the wall shut-off valve to the bottom of the toilet tank. A t-valve for a bidet acts as a diverter.
It creates a “T” junction that allows water to flow to two places simultaneously:
Up into the toilet tank (to refill after a flush).
Out through the side port to the bidet attachment or hand-held sprayer.
2. Choosing the Right Size: 7/8″ vs. 3/8″
The biggest mistake DIYers make is buying the wrong size toilet t-adapter. There are two standard configurations:
A. The 7/8″ T-Valve (Tank Mounted)
This is the most common bidet t valve in North America. It screws directly onto the threaded shank at the bottom of your toilet tank.
Connection: 7/8″ Male x 7/8″ Female x 1/2″ (or 3/8″) for the bidet hose.
B. The 3/8″ T-Valve (Valve Mounted)
If your toilet has a rigid pipe or you prefer a cleaner look, you may use a 3/8″ t valve water line adapter. This connects to the shut-off valve at the wall rather than the tank.
Connection: 3/8″ Compression fittings.
Pro Tip: Always check your bidet hose diameter (usually 1/2″ or 9/16″) before purchasing to ensure the “branch” of the T-valve matches.
3. How to Install a Toilet T Adapter (No Cutting Required)
One of the best things about a modern t-valve for a bidet is that it allows for a “non-destructive” installation. You don’t need to cut pipes or solder anything.
Step-by-Step Installation:
Shut Off the Water: Turn the wall valve clockwise until it stops.
Drain the Tank: Flush the toilet and hold the handle down to remove as much water as possible.
Disconnect the Supply Line: Unscrew the existing hose from the bottom of the toilet tank. (Keep a small bucket underneath for drips!)
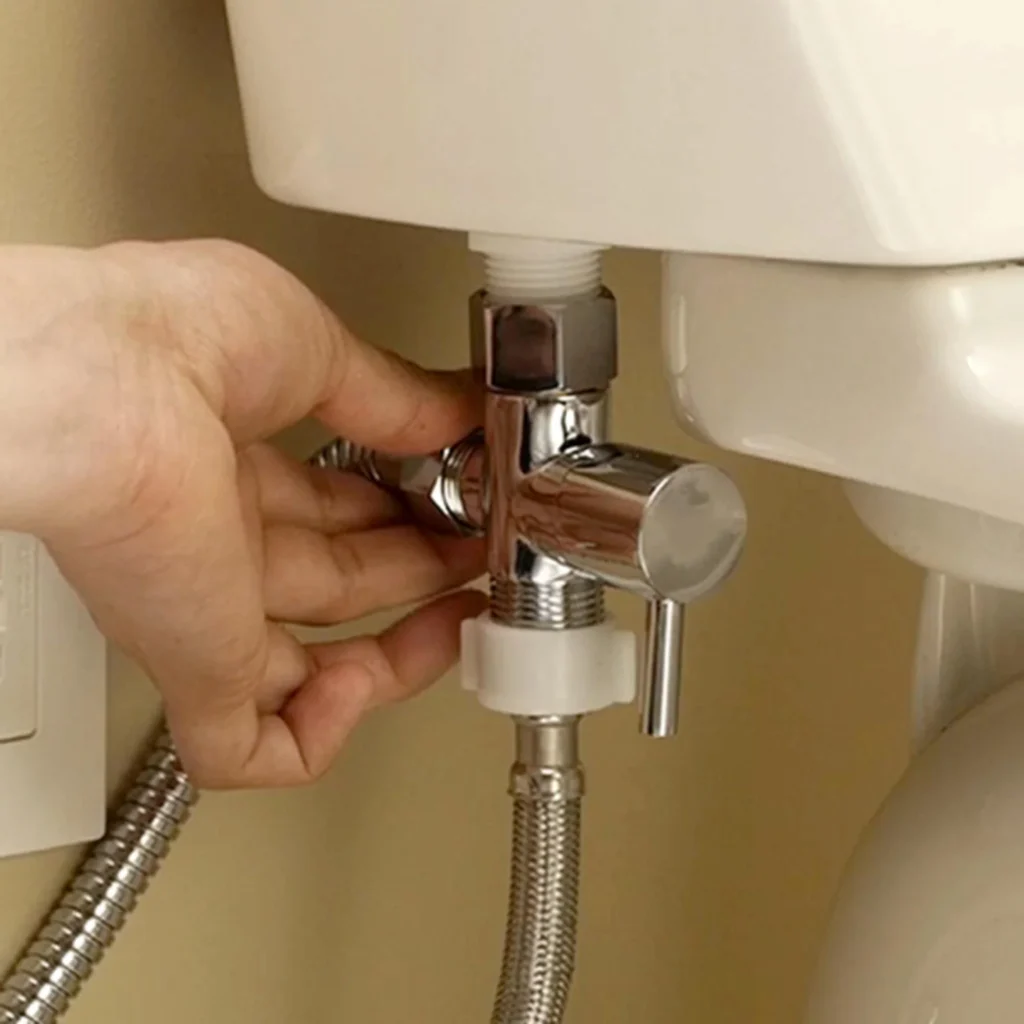
Attach the T-Valve: Screw the toilet t-adapter onto the tank shank. Ensure the rubber washer is seated correctly to prevent leaks.
Reconnect Lines: Screw the original water supply line to the bottom of the T-valve and the bidet hose to the side port.
Test: Turn the water back on slowly and check for leaks.
4. Quality Matters: Plastic vs. Metal T-Valves
While some bidet kits come with a plastic bidet t valve, we highly recommend upgrading to a solid brass T-adapter.
Durability: Metal threads are much less likely to cross-thread or crack under pressure.
Safety: A metal t valve with shut-off provides extra security against high-pressure surges that could burst a plastic fitting while you are away from home.
5. Troubleshooting the “Toilet Water Valve”
If you find that your shut off valve for the toilet is leaking after you install the T-adapter, the internal seal of the old wall valve may have failed. This is a common time to perform a full stop valve replacement to ensure your entire bathroom is up to modern standards.
Conclusion
A bidet t valve is the key to a more hygienic bathroom. By selecting a high-quality brass t-valve for the toilet, you ensure a quick, leak-free installation that will last for years.