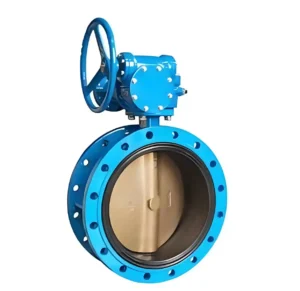
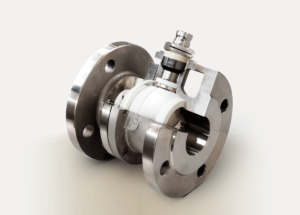
A pressure reducing valve (PRV), also known as a water pressure regulator, is a vital component in plumbing systems.
It automatically reduces the incoming water pressure from the main supply line to a safe and steady level for your home or industrial system.
Over time, PRVs can wear out due to sediment buildup, corrosion, or mechanical failure — leading to fluctuating pressure, noisy pipes, or leaks.
When this happens, replacing the pressure reducing valve is often the best solution.
This guide explains how to change a pressure reducing valve safely and efficiently, whether for residential or industrial systems.
Table of Contents
ToggleWhen to Replace a Pressure Reducing Valve
You may need to change your PRV if you notice:
Inconsistent or abnormally high water pressure
Water hammer (banging noises in pipes)
Weak water flow at fixtures
Leaking from the valve body or fittings
The valve is more than 7–10 years old
If adjusting the valve doesn’t restore normal performance, replacement is the best option.
Tools and Materials You’ll Need
Before starting, prepare the following items:
Replacement pressure reducing valve (same size and rating)
Adjustable wrench or pipe wrenches
Plumber’s tape (Teflon tape)
Bucket or towels (to catch residual water)
Pressure gauge (to verify output pressure)
Pipe cutter or hacksaw (if necessary)
Safety gloves and eye protection
Step-by-Step: How to Replace a Pressure Reducing Valve
Step 1: Turn Off the Water Supply
Locate the main shut-off valve near the water meter and turn it clockwise to close.
Then, open a faucet or hose bib downstream to release pressure and drain remaining water.
Step 2: Identify and Inspect the Old Valve
The PRV is usually installed just after the main shut-off valve.
Check the pipe size (often ½”, ¾”, or 1”) and note the flow direction arrow on the valve body.
You’ll need a replacement valve of the same size and orientation.
Step 3: Remove the Old Valve
Use a wrench to loosen the nuts or threaded unions on both sides of the valve.
Place a bucket underneath to catch any remaining water.
If the valve is soldered or glued, carefully cut it out using a pipe cutter.
Step 4: Prepare the Connections
Clean the pipe ends and wrap the male threads with Teflon tape (wrap clockwise 3–4 times).
If your system uses compression or union fittings, inspect the washers and replace if worn.
Step 5: Install the New Pressure Reducing Valve
Position the new valve in the same direction as the old one, ensuring the arrow points in the direction of water flow.
Tighten the nuts or fittings securely using a wrench, but avoid over-tightening to prevent damage.
Step 6: Turn the Water Supply Back On
Slowly reopen the main water valve.
Check for leaks around the connections.
If any drips appear, gently tighten the fittings.
Step 7: Adjust the Outlet Pressure
Attach a pressure gauge to a nearby faucet or hose bib downstream of the PRV.
Most household systems are set between 40–60 psi (2.8–4.1 bar).
To adjust:
Turn the adjustment screw clockwise to increase pressure.
Turn counterclockwise to reduce it.
Once the desired pressure is reached, tighten the lock nut (if present).
Safety Tips
✅ Always shut off the water before removing the valve.
✅ Use only valves rated for potable water and the appropriate pressure range.
✅ Avoid overtightening threaded joints — it can crack brass fittings.
✅ If working with soldered copper connections, ensure no residual water remains before applying heat.
✅ When in doubt, consult a licensed plumber for installation.
Maintenance Recommendations
To extend the lifespan of your new pressure reducing valve:
Flush the valve periodically to remove sediment.
Test water pressure annually using a gauge.
Replace worn washers or seals promptly.
Consider installing a strainer or sediment filter upstream of the valve.
Conclusion
Replacing a pressure reducing valve is a manageable task for anyone familiar with basic plumbing.
By following the proper steps — shutting off the water, removing the old unit, installing the new one, and adjusting the outlet pressure — you can restore smooth, consistent water flow throughout your system.
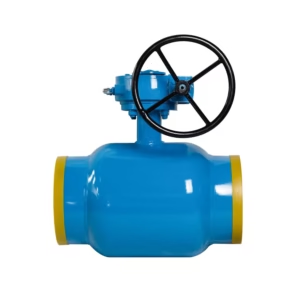
For industrial or large-scale water systems, TOT Pressure Reducing Valves offer durable, corrosion-resistant materials and precise control, ensuring stable pressure regulation for years of reliable service.